The Art of Extreme Pumpkin Carving: Taking Halloween Decorations to the Next Level
Extreme pumpkin carving transforms traditional Halloween decorations into stunning works of art. This craft elevates spooky displays to a new level.
Extreme pumpkin carving involves intricate designs and advanced techniques. Enthusiasts use specialized tools to create detailed patterns that go beyond basic jack-o’-lanterns. From lifelike portraits to complex scenes, these carvings impress and amaze viewers. The art requires patience, creativity, and precision, making each pumpkin a unique masterpiece.
Master carvers often share their skills through tutorials, inspiring others to explore this fascinating hobby. With practice, anyone can improve their carving abilities and contribute to the Halloween spirit. Extreme pumpkin carving showcases the artistry and imagination that can be applied to a simple, seasonal tradition.
Introduction To Extreme Pumpkin Carving
Explore the art of extreme pumpkin carving, transforming traditional Halloween decorations into stunning, intricate masterpieces. Elevate your festive displays with creative designs that captivate and inspire.
What Sets It Apart
Extreme pumpkin carving is not like regular pumpkin carving. It involves more intricate designs and fine details. These pumpkins often look like amazing works of art. Artists use special tools to create these designs. Sometimes, they even use power tools for precise cuts. The results can be stunning and unique. People are often amazed at the level of detail. This type of carving takes more time and skill. Anyone can try it with practice and patience.
Historical Context
Pumpkin carving has a long history. It started with the Irish tradition of carving turnips. These turnips were used to scare away evil spirits. When people moved to America, they found pumpkins. Pumpkins were easier to carve than turnips. This made pumpkin carving a popular Halloween activity. Over time, the designs became more complex. Today, extreme pumpkin carving is a celebrated art form. It brings joy and amazement to many people during Halloween.
Tools And Materials
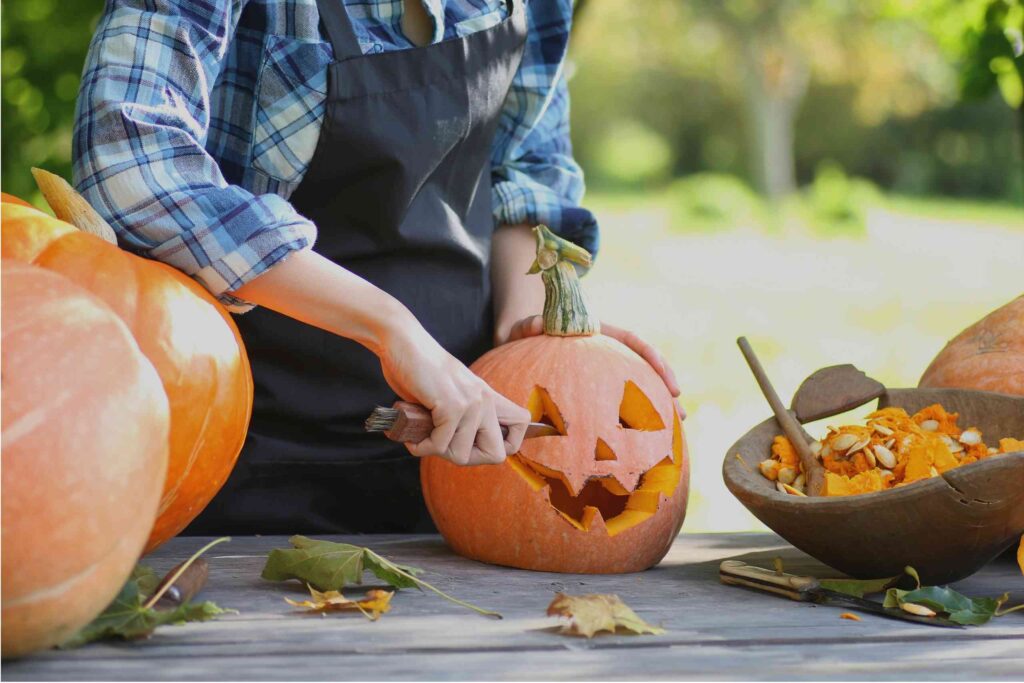
To carve an amazing pumpkin, you need the right tools. A sharp knife is very important. Use small saws for detailed work. Get a scoop to clean out the pumpkin. Stencils help create perfect designs. A drill can make holes easily. Use pins to hold parts in place. Don’t forget safety gloves to protect your hands.
Pick a pumpkin that is round and smooth. Avoid pumpkins with bruises or soft spots. A flat bottom helps it sit still. The stem should be firm and green. Big pumpkins are great for large designs. Smaller pumpkins are good for detailed work. Make sure the pumpkin is fresh and heavy for its size.
Techniques For Intricate Designs
Start with a clean pumpkin. Remove the seeds and pulp. Use a simple knife for basic cuts. Draw your design with a marker. Follow the lines carefully. Take your time to avoid mistakes. Basic tools include knives and scoops. These tools help create simple shapes. Basic designs are easy and fun. Kids can enjoy simple carving too.
Advanced carvers use special tools. Dremel tools are popular. These tools create detailed designs. Layers add depth to carvings. Shade areas by scraping the skin. Light shines through thin parts. Use templates for complex designs. Stencils guide intricate cuts. Practice makes perfect. Don’t rush advanced techniques.
Inspiration And Design Ideas
Classic Halloween designs include ghosts, witches, and bats. Scary faces are always a hit. Try carving haunted houses for a spooky touch. Use famous movie monsters like Frankenstein or Dracula. Cartoon characters can make kids smile. Consider adding some friendly ghosts. Animal designs are also popular. Think about using cats, owls, or wolves.
Try carving scenes from nature. Use trees, rivers, and mountains for a unique look. Steampunk designs use gears and pipes. These can look very cool. Carve famous landmarks like the Eiffel Tower or the Statue of Liberty. Use abstract art for a modern touch. Try carving optical illusions for a mind-bending effect. Add some humor with funny faces or scenes. Use pop culture references like superheroes or TV show characters.
Preserving Your Masterpiece
Carved pumpkins can rot quickly. Keep your pumpkin fresh to enjoy it longer. Store it in a cool place to slow down decay.
Coat the carved edges with petroleum jelly. This stops the pumpkin from drying out. Spray the inside with a mixture of water and bleach. This kills bacteria and mold.
Choose a healthy pumpkin for carving. A pumpkin without bruises lasts longer. Cut from the bottom instead of the top. This helps it stay fresh.
Light with LED candles instead of real ones. Real flames can speed up rotting. Bring your pumpkin inside at night. Cold temperatures help preserve it.
Showcasing Your Carved Pumpkins
Elevate your Halloween decorations by mastering the art of extreme pumpkin carving. Transform ordinary pumpkins into jaw-dropping masterpieces that captivate everyone.
Display Tips
Place your carved pumpkins on sturdy surfaces. Use LED candles to light them up safely. Try arranging pumpkins in groups for a dramatic effect. Position them at different heights using small boxes or stands. Ensure all sides are visible for a 360-degree view. Keep them away from flammable objects.
Photography Ideas
Capture your pumpkins in low light for a spooky effect. Use a tripod to keep your camera steady. Try different angles to find the best shot. Include other Halloween decorations in the background. Take close-up shots to highlight details. Edit your photos to enhance colors and contrast.
Conclusion
Embrace the art of extreme pumpkin carving this Halloween. Transform your decorations and impress your neighbors. With creativity and the right tools, your pumpkins will stand out. Bring your Halloween spirit to life with extraordinary designs. Happy carving!